Your Friendly Automate looks a bit different? Click here for the older tutorial:
Friendly Automate has a built-in drag-and-drop email builder that makes it easy for you with its graphical interface to create responsive and attractive emails.
In this tutorial you will learn to:
- understand the structure of a visual email
- create a simple email with text, images, buttons and links
- refine your email with tokens, spacing and other settings
To create an email using the Email Builder, in Friendly Automate click on "Channels" on the menu on the left, then "Emails", then "New" on the top right:

Now you have the choice between a "Template Email" and a "Segment Email". In most cases you will choose the template email. With this option, you create an email that you can send later as part of a campaign.

You will now be shown a number of email themes to choose from.

Create your own email template
Or take advantage of our consulting services: We would be happy to create an email template in your company design. Just get in touch with us.
Give the email a subject and an internal name in the right-hand column and specify the language. You can also enter a preheader text, i.e. the text that recipients will see in the email overview.

Save your progress and then click on "Builder" at the top.
This will take you to the email builder. On the right, you will see various sections and blocks that you can drag and drop into your email.

1 Understand the structure of an email
To understand how you can use, combine and customize these elements, let's first look at how an email is structured in MJML.
The basic structure of an MJML email consists of sections and columns.
Here you can see an example newsletter:
And here you can see which sections (black frames) and columns (orange frames) it is made up of:

The sections form the outermost structure of the email.
Each section contains at least one column . A maximum of three columns is recommended. The columns organize the vertical structure within the sections.
There are one or more blocks in the columns. Blocks are always located within a column and are always arranged one below the other. Blocks are, for example: a text field, an image, a button, a social group or a dividing line.
Here is the example newsletter again:
And here the sections (black), columns (orange) and blocks (colored fields):

Now you can start composing your first email.
2. Create an email
Now you will learn step by step how to build an email with the Email Builder. It is necessary to always create a section with one or more columns before you insert the actual content (the blocks).
Saving
First things first: You can save your progress directly in the builder at any time using the checkmark in the top right-hand corner.

Sections and columns
In the Email Builder, you will find the sections that already contain one, two or three columns at the top right. Below this you will find the blocks.

Drag a section with one, two or three columns into your email.

To adjust the column width, first select the column using the blue frame. You have two options for this:

Either move the mouse over the field until "Column" is displayed and then click to select the column.

Or you can click on the text box and then on the blue arrow to go up one level.
You can access the formatting options by clicking on the brush in the top right-hand corner. You can find the settings for the column width under "Dimension". There you can specify the column width in pixels or as a percentage.

You can return to the block selection by clicking on the plus symbol in the top right-hand corner:

Text fields
Each column automatically contains a text field. You can edit the text by double-clicking on the text field. A popup will open:

In the upper area, you have all the usual formatting tools at your disposal:

Of course, you can also insert links as usual:

Apply your changes with the Save button:

Images
To insert an image, drag an "Image" block into an existing section:

A popup will open. Double-click on the top bar to upload a new image, or select an image below that you have already uploaded:

To adjust the image, click on the brush at the top right again. There you can change the image size or the background color.

Buttons
Add a button by dragging the "Button" block into an existing section.

Double-click on the button to change the button text.
Now you can use the brush at the top right to make settings again, such as the link to which the button refers, the size and color of the button and the font.

Social elements
To add links to social media to your email, drag a "Social Group" into an existing section:

If you need additional elements, drag a "social element" into the social group:

Select a social element and click on the brush in the top right-hand corner to customize the element. You can choose from a variety of social media (in addition to Facebook and Twitter, also YouTube, Linkedin or SoundCloud) and enter the link.

3. Refine your email with more elements and settings

Tokens
You can use placeholders (tokens) to insert contact-specific information into any text. For example, you can use them to insert names and addresses, but also data from user-defined contact fields. To insert a token, open a text field and place the cursor where you want to display contact-specific text.
Then click on the token icon in the context menu:

From the drop-down menu, select the contact field you want to read:

This will automatically enter the first name of the respective contact when the email is sent, for example.

Webview and unsubscribe text
You can also use tokens to insert a standardized webview and unsubscribe text.
Again, place the cursor at the relevant position, click on "Insert token" and select "Text for web view" or "Text for unsubscribe":

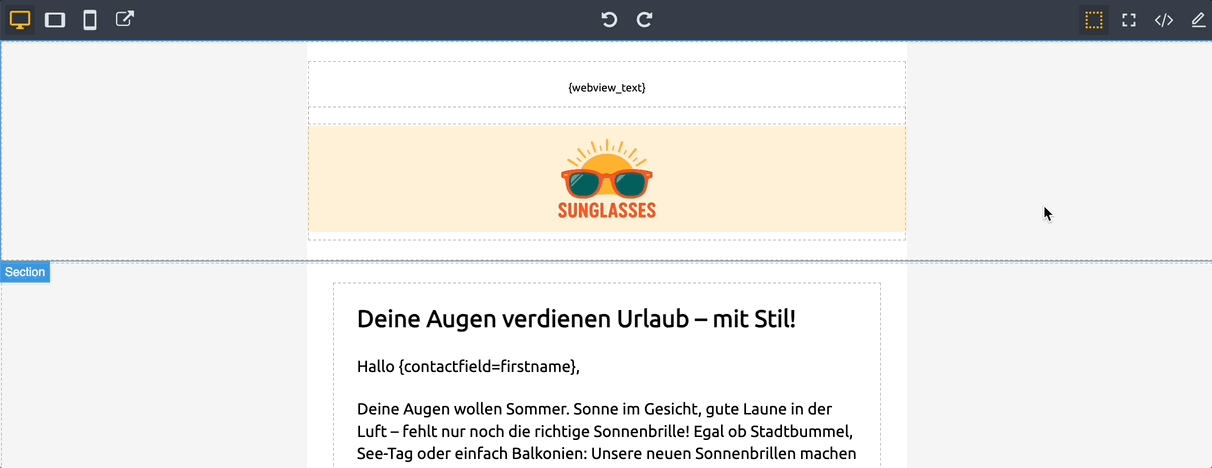
This is what the placeholder for the webview text looks like in the email builder:

This is how the placeholder can look in the sent email:

This is what the placeholder for the unsubscribe text looks like in the email builder:

This is what the placeholder can look like in the sent email:

You can configure which text is displayed for the webview and unsubscribe token. To do this, click on the gear wheel in the top right corner of Friendly Automate and then on "Configuration":

Then click on "Email settings":

Scroll down until you find "Message settings" and "Unsubscribe settings". There you can customize the webview and unsubscribe texts.

Then scroll to the top of the settings to save your changes.

Margins and spacing
You can set margins or spacing on the block level and on the section level. First select the layer for which you want to set the spacing.

Then click on the brush at the top right. Under "Dimension", you can define the top, bottom, left and right spacing (padding):

Duplicate, move and delete elements
You can duplicate, move and delete sections, columns and blocks.
Duplicating and moving is particularly useful for text fields: As you have to format each text field individually, it can make sense to first create a single text field and finish formatting it. You can then duplicate and move this text field. This will retain the formatting.
Duplicate element:

Move element:

You can also duplicate or move columns or sections in the same way. Make sure that you always select the correct layer.
In the blue selection box, you can delete the element by clicking on the trash can.
Preview Options
Preview your email to see how your email will be displayed responsively on a desktop device, tablet or smartphone. To do this, click on the icons in the top left-hand corner of the email builder:
You can see the webview preview of your email by leaving the builder and clicking "Save & close". You can now display a general or personalized preview of the email on the right-hand side.

Code mode
Last but not least: You can use all elements and attributes for your emails that are possible in MJML. In order not to overload the email builder, not all settings are possible on the graphical user interface. However, you can go into code mode at any time to make further adjustments.
Visit our tutorial to do this:
With this, you know everything you need to successfully create emails in Friendly Automate!
Don’t have time? 👩💻 Contact us and we’ll implement and design for you.